
South Indian Garlic Chutney (Poondu Chutney) – A Fiery Side Dish You'll Love
Poondu Chutney – Spicy South Indian Garlic Chutney Recipe (Mr. Desi Style)
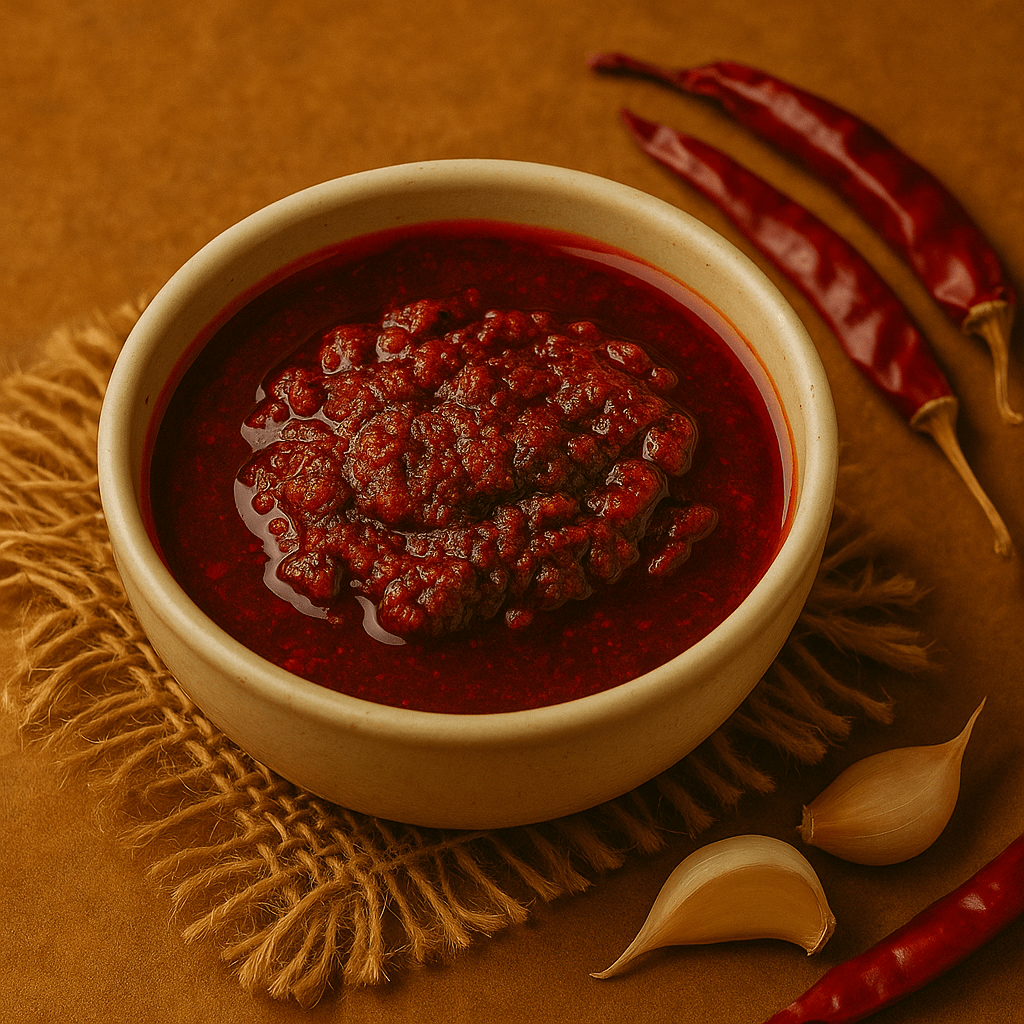
In Tamil kitchens, there's one chutney that wakes up your senses the moment it hits the pan Poondu Chutney (Garlic Chutney).
It’s fiery, it’s rustic, and it’s packed with bold flavors from roasted garlic and dried red chillies etc.
If you love a good kick of heat with your idli, dosa, or even plain rice, this chutney is for you.
And bonus? It’s coconut-free, so it stays fresh longer. Ideal for busy mornings or lazy dinners 😅

Ingredients You’ll Need
12–15 Garlic cloves (peeled)
4–5 Dry Red Chillies (adjust to taste)
1 small piece Tamarind
Salt – to taste
1 tbsp Sesame Oil (Nallennai for authentic flavour)
Optional Tempering:
1 tsp Oil
½ tsp Mustard Seeds
Few Curry Leaves
Pinch of Hing (Asafoetida)
How to Make Garlic Chutney (Poondu Chutney)
Step 1: Roast the Garlic
Heat up some oil in a kadai or any pan you’ve got.
Toss in the garlic cloves (no need to chop) and let them fry on low flame till they start turning golden brown.
Don’t hurry ya... slow roasting gives that deep flavour.
Once done, just take them out and keep them aside — let it cool down a bit.
Step 2: Let’s Toast Those Chillies
In the same pan (no stress about cleaning), toss in those dry red chillies and a small piece of tamarind.
Let them roast for a minute , just till they smell toasty and the tamarind soften a bit.
Don’t overdo it! If they get even slightly burnt, the chutney's gonna taste weirdly bitter
So keep the flame low and stay close, okay?
Step 3: Grind It All
Let everything cool down properly – no hot stuff in the mixer, ok?
Then grind garlic + chillies + tamarind + salt + just a tiny splash of water.
Make it into a smooth-ish chutney – not too thick, not too runny. Somewhere in between works best.
Step 4: Optional Tempering (But Adds Magic)
If you're feeling fancy – heat a little oil, splutter mustard seeds, add curry leaves and a pinch of hing.
Pour that sizzling tempering over your chutney.
The aroma? Next level. 🤤
How to Eat It (aka Best Combos)
With hot idlis and ghee – so simple, so satisfying
Alongside crispy dosa or oothappam (my fav tbh)
With curd rice – spicy + cooling = chef’s kiss
Or just mix with steaming hot rice + a spoon of sesame oil or ghee… divine.
Why You'll Fall in Love With This Chutney
Takes like 10 minutes max
No coconut = stays longer in the fridge
That bold garlic flavour is unbeatable
Actually helps with digestion (thanks garlic!)
No chemicals, no junk. Just clean, simple homemade goodness
How to Store It Right
Stays fresh for 3 to 4 days in the fridge
Always use a dry spoon (super important)
Store in an airtight container
If you want to keep it longer, skip the tempering now — just add it when serving!
My Final Thoughts (and yours too after trying 😜)
This chutney isn’t just a side dish. It’s literally a flavour bomb that turns even boring idlis into something exciting.
It's bold, spicy, and totally comforting.
Seriously… one bite, and you’ll understand why our moms and paatis never skipped garlic in their cooking.
This one’s a keeper 👑🧄🔥